Gemma+NeoPixel 1: random_same
This post is the first in a planned series of articles about my experiments with an Arduino Gemma and a NeoPixel ring with 16 RGB LEDs.
I’m not going to go into detail about how to install or configure the Arduino IDE. Start with the Adafruit Gemma setup instructions and then the NeoPixel library installation instructions that are part of the NeoPixel Überguide.
Make sure you are using a USB cable that is not power-only!
Wiring
Let’s start simple. Grab some small alligator clips from Adafruit and follow the wiring instructions from the Gemma Hoop Earrings project.
Code
We are going to write a really simple program that randomly chooses a color between 0 and 255 and then assign that color to all LEDs. The code is pretty simple C++ and uses the Adafruit NeoPixel library and will run on our Arduino Gemma.
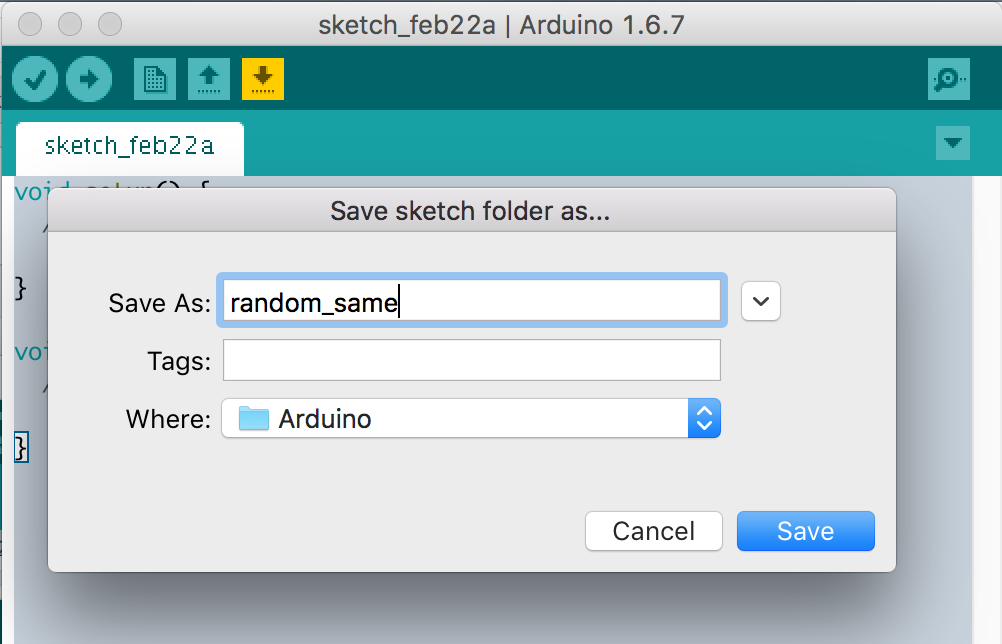
Create a new sketch in the Arduino IDE. Click the “Save” button and name your sketch “random_same”.
Let’s start off by letting the compiler know about the Adafruit NeoPixel
library with an include directive.
#include <Adafruit_NeoPixel.h>
We can now go ahead and create an object that manages all the interaction with
the NeoPixel. The Adafruit_NeoPixel call we are using takes the number of
pixels as its first argument and pin number as the second. My NeoPixel has 16
LEDs and is wired to the D0 pin on my Gemma.
Adafruit_NeoPixel strip = Adafruit_NeoPixel(16, 0);
There is an optional, third argument to the
Adafruit_NeoPixelfunction that lets you specify the type of NeoPixel. The default choice worked for me. Consult the NeoPixel documentation to see if you need to explicitly configure its type.
Your sketch may already contain a setup function definition. We are going to
replace that with a version that initializes the NeoPixel strip and sets an
initial brightness. Your Gemma will call the setup function when it starts
executing your program, so it’s a great place for anything we want to do once.
The strip.begin call will configure our D0 pin so it is ready to send
instructions to the NeoPixel. The strip.setBrightness call will prevent you
from going blind. Those NeoPixels can get bright! Feel free to experiment with
other brightness values or removing the call to strip.setBrightness
altogether.
void setup() {
  strip.begin();
  strip.setBrightness(30);
}
The NeoPixel is ready to go. Let’s give it some color. We do that by defining
a loop function which the Gemma will execute over and over again.
Our loop implementation uses a Wheel function that takes an eight-bit
number between 0 and 255 (inclusive) and translates that into a 32-bit number
the NeoPixels use as color choice. I talk about Wheel in another post. Make sure to include a
copy at the end of your program.
We use the Arduino random
function to compute our input to Wheel.
Once we have our color, we use a for loop to assign that color to each pixel
with the strip.setPixelColor call. This function takes the index of the LED
as its first argument (the first LED is at index 0) and a 32-bit color as
its second.
A call to strip.setPixelColor does not immediately send any instructions to
the NeoPixel. Instead, all color choices are buffered in-memory by the
NeoPixel library and sent to the device when strip.show is called.
We add a delay at the end of
loop to make our code pause after each color choice. The delay function
takes a number of milliseconds as its only argument. Increase the delay value
to wait longer. Decrease the value to make the color change more often.
Things will blink really quickly if you remove the call to delay entirely!
// Randomly give the same color to all pixels.
void loop() {
  uint32_t c = Wheel(random(256));
  uint8_t i;
  for (i=0; i<strip.numPixels(); i++) {
    strip.setPixelColor(i, c);
  }
  strip.show();
  delay(200);
}
The whole program
Here’s the entire program.
#include <Adafruit_NeoPixel.h>

Adafruit_NeoPixel strip = Adafruit_NeoPixel(16, 0);

void setup() {
  strip.begin();
  strip.setBrightness(30);
}

// Randomly give the same color to all pixels.
void loop() {
  uint32_t c = Wheel(random(256));
  uint8_t i;
  for (i=0; i<strip.numPixels(); i++) {
    strip.setPixelColor(i, c);
  }
  strip.show();
  delay(200);
}

// Input a value 0 to 255 to get a color value.
// The colours are a transition r - g - b - back to r.
uint32_t Wheel(byte WheelPos) {
  WheelPos = 255 - WheelPos;
  if(WheelPos < 85) {
    return strip.Color(255 - WheelPos * 3, 0, WheelPos * 3);
  }
  if(WheelPos < 170) {
    WheelPos -= 85;
    return strip.Color(0, WheelPos * 3, 255 - WheelPos * 3);
  }
  WheelPos -= 170;
  return strip.Color(WheelPos * 3, 255 - WheelPos * 3, 0);
}
As you get a little more comfortable writing code for your Gemma and NeoPixel,
you should poke through the source for the
NeoPixel library. The
examples may give you some ideas for further experimentation. The NeoPixel
calls themselves can also be helpful. I read the implementations of
setPixelColor and getPixelColor more than once!